
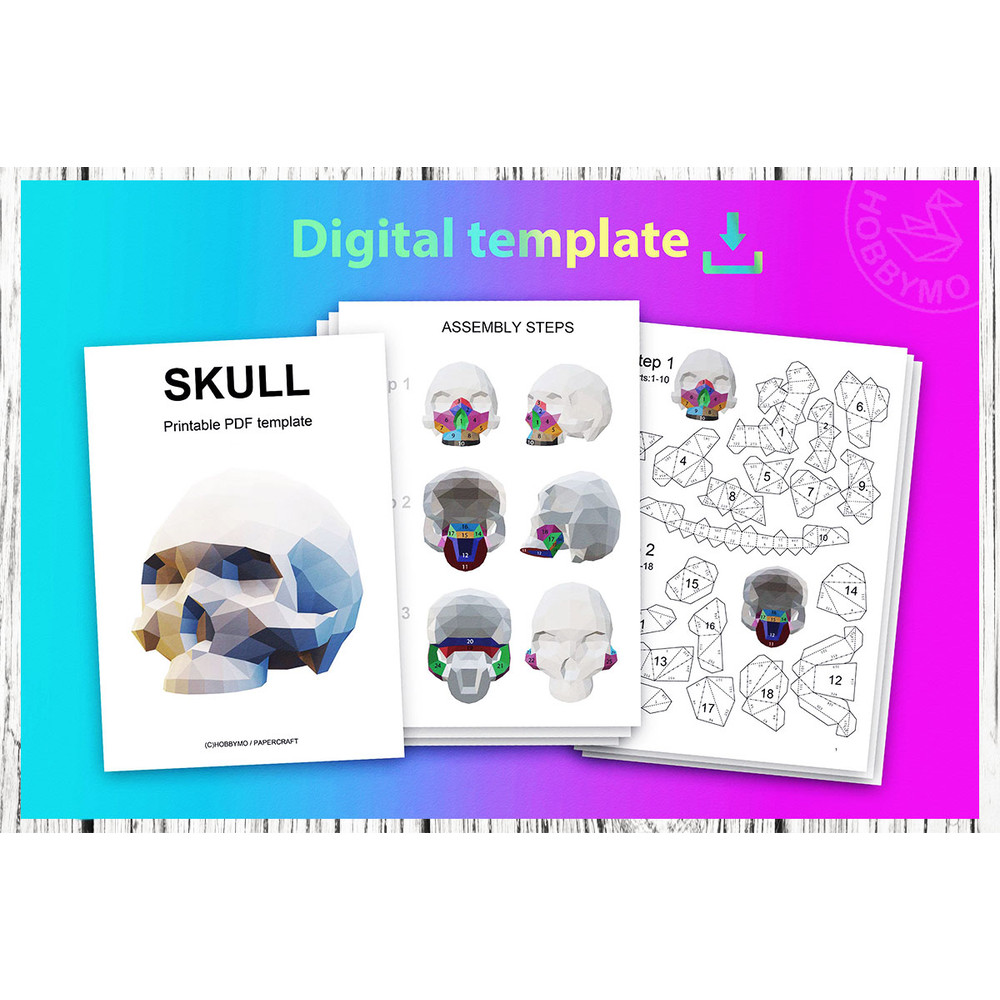

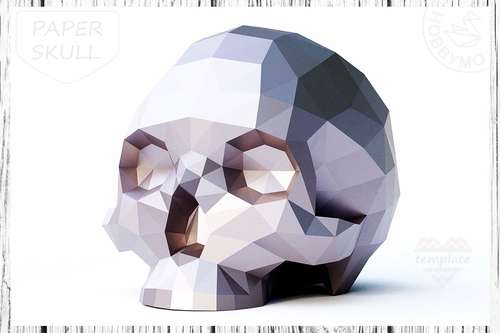


DIY Paper Polygonal Skull, 3D Papercraft template (2 sizes)
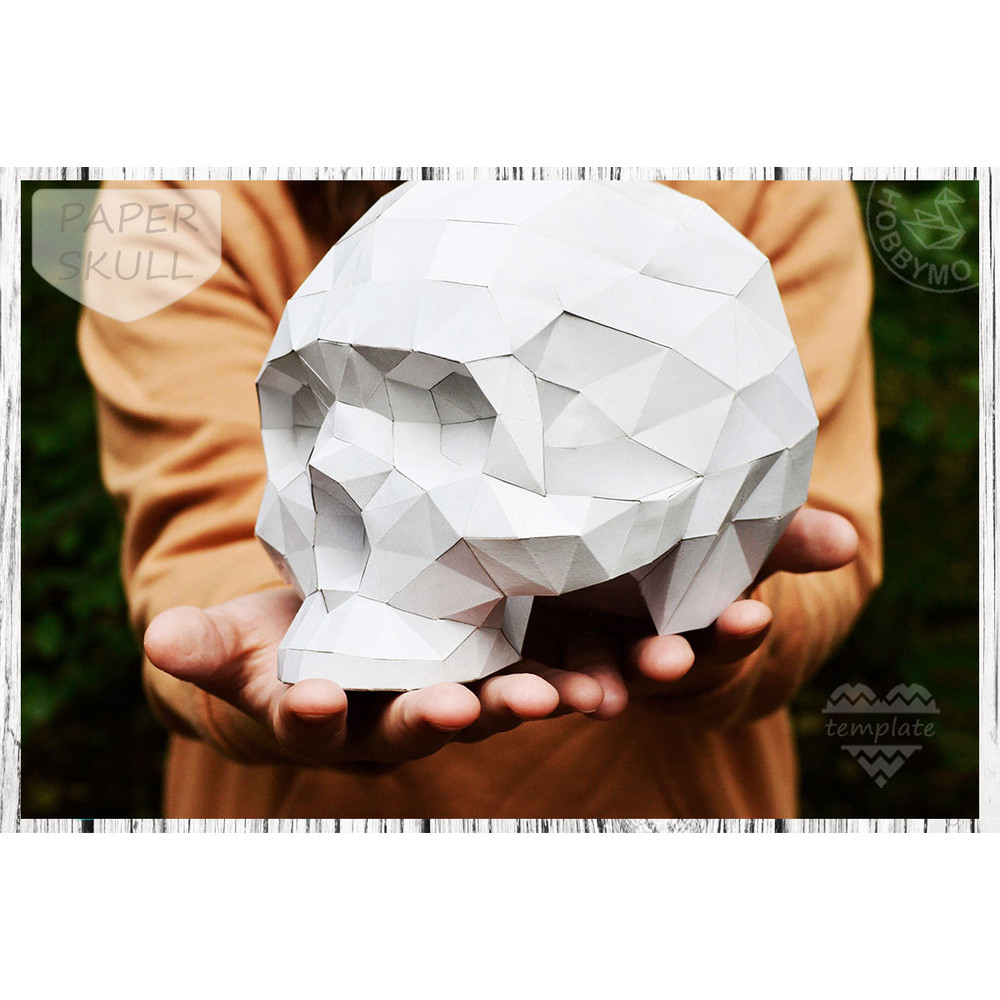
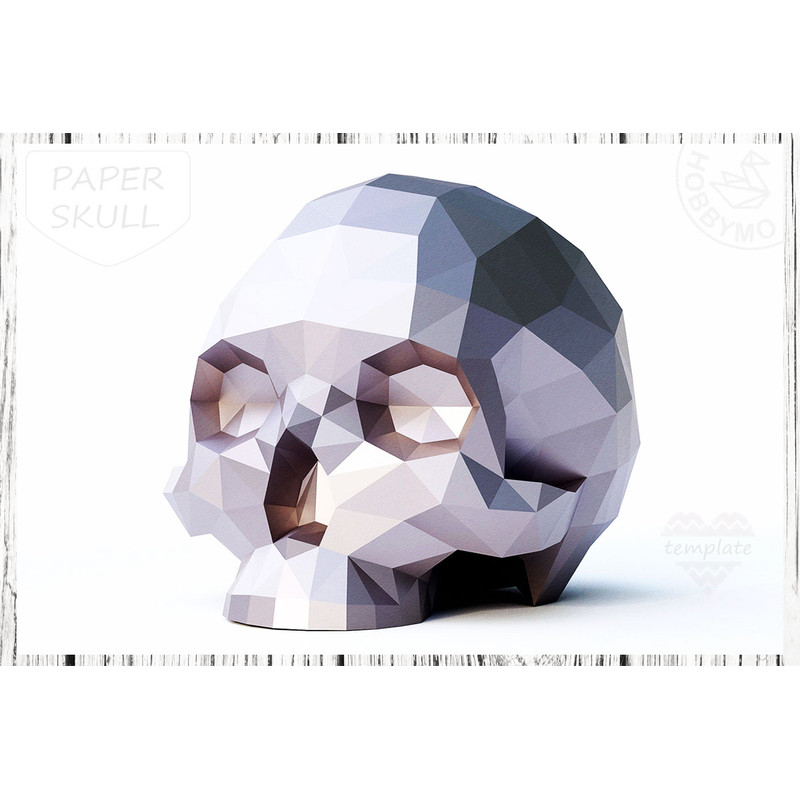
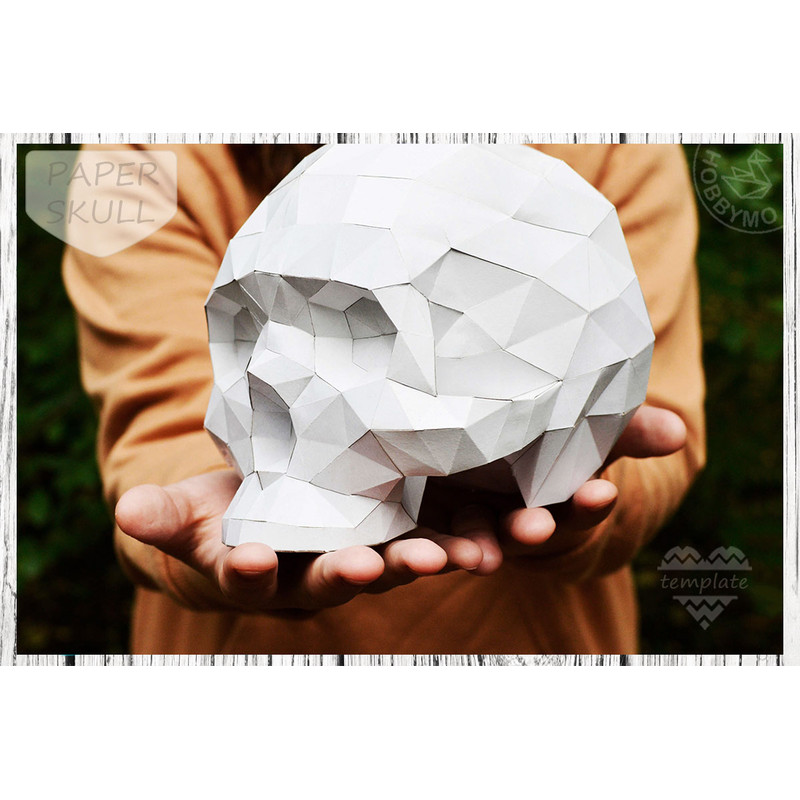
Low poly model of a Skull for assembly from paper or cardboard. Make your own decorative skull.
The digital PDF template is ready for printing. The instruction in the file is attached. To assemble the model, you need to print this file on thick A4/Letter paper or cardboard.
IDEAS:
1) Make a skull vase – cut off the lid or do not glue the lid during assembly. You can also make a box with a lid.
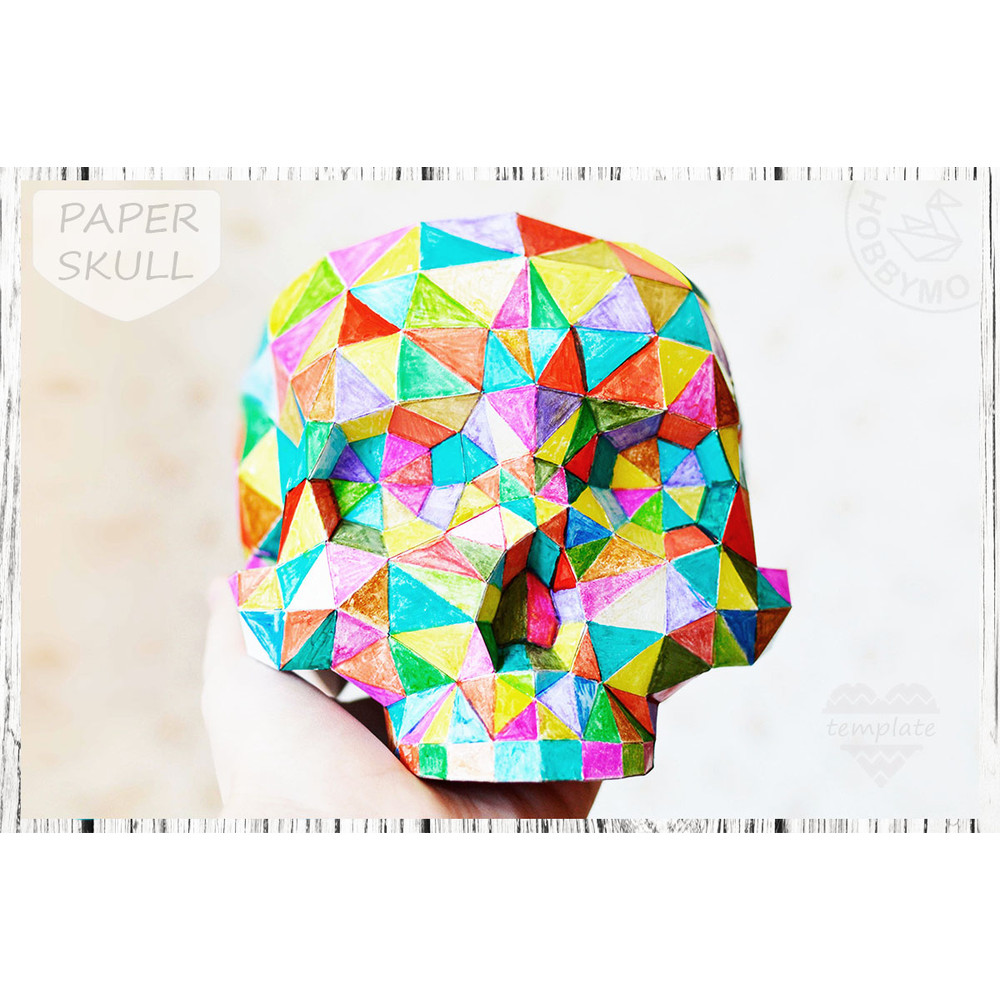
2) Decorate the skull with rhinestones – glue a rhinestone on each polygon. It’s beautiful.
3) Color the skull with one color or color each polygon with a different color.
PRINT: on colored paper
DIFFICULTY: medium (difficult place: cheekbones)
PARTS: 66
SHEETS(A4/Letter): 6 or 10
ASSEMBLY TIME: ≈ 8 hours
DOWNLOADABLE content:
1) Manual with the location of parts.
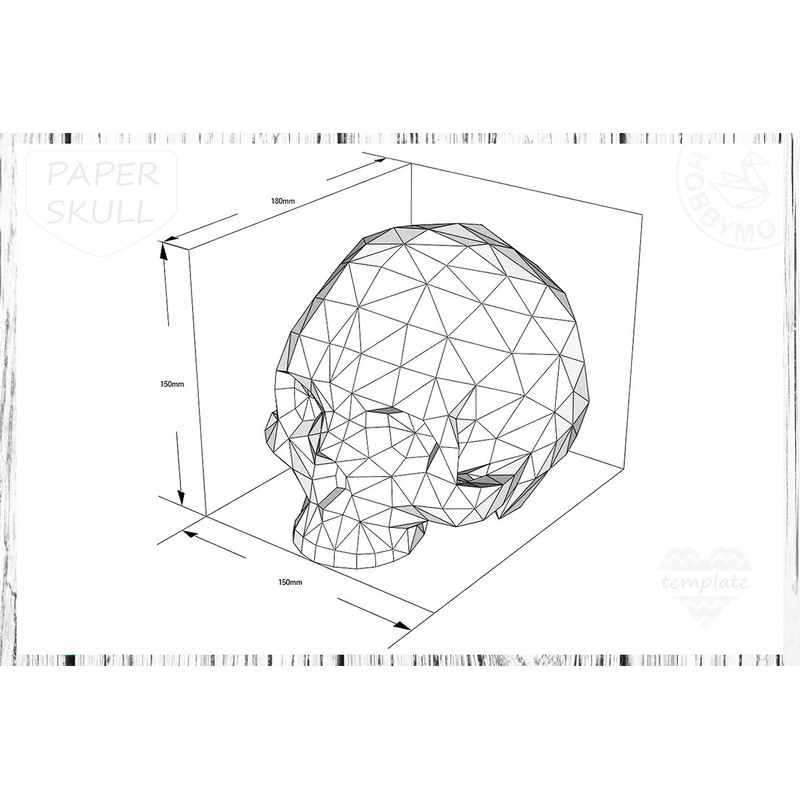
2) PDf template of the Skull (h15 cm). To assemble this model, you will need 6 A4/Letter sheets.
Finished model size: Height – 15 cm / 5,9". Width – 15 cm / 5,9". Depth – 18 cm / 7".
3) PDF template of the Skull (h20 cm). To assemble this model, you will need 10 A4/Letter sheets.
Finished model size: Height – 20 cm / 7,9". Width – 20 cm / 7,9". Depth – 24 cm / 9,4".
MATERIALS required for assembly:
1. Printer.
2. Paper sheets of A4 or US letter (paper density 160-240 g/m2).
3. Scissors or a craft knife.
4. Ruler.
5. Inkless pen or awl, or use the blunt side of a craft knife.
6. Glue stick, PVA, or similar product.
For personal use only. More details are at the link.
Free Shipping
24/7 Live Chat
Secure Payments