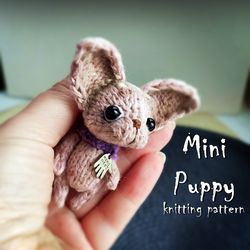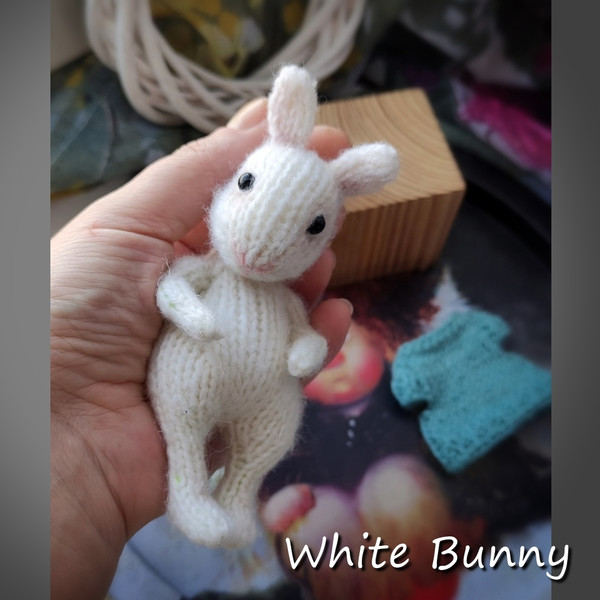
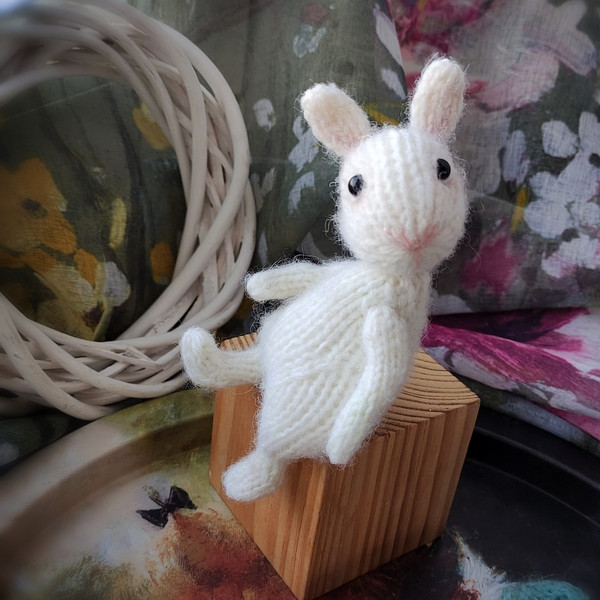
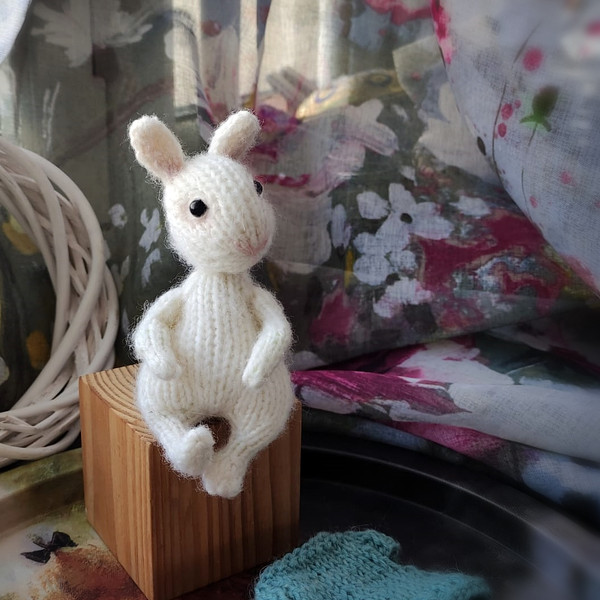
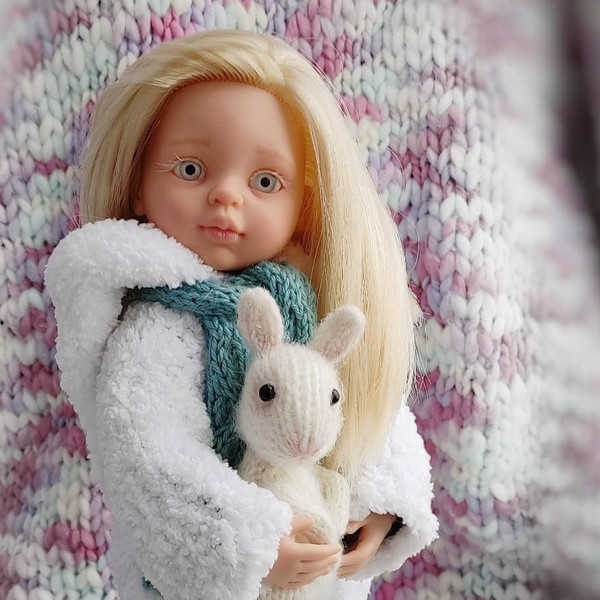
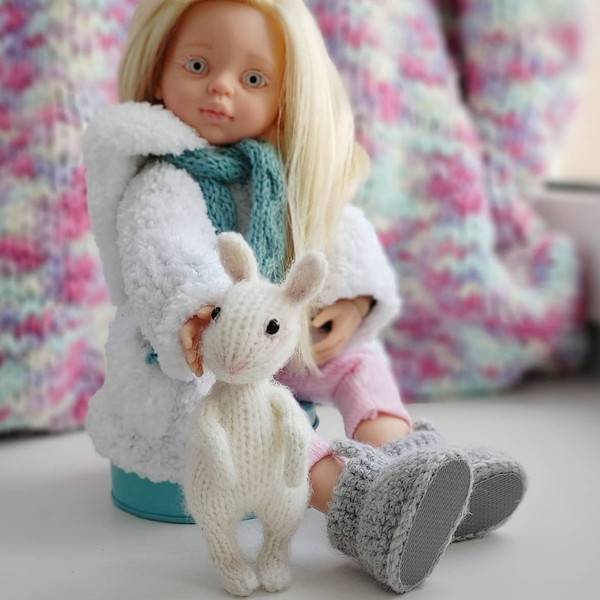
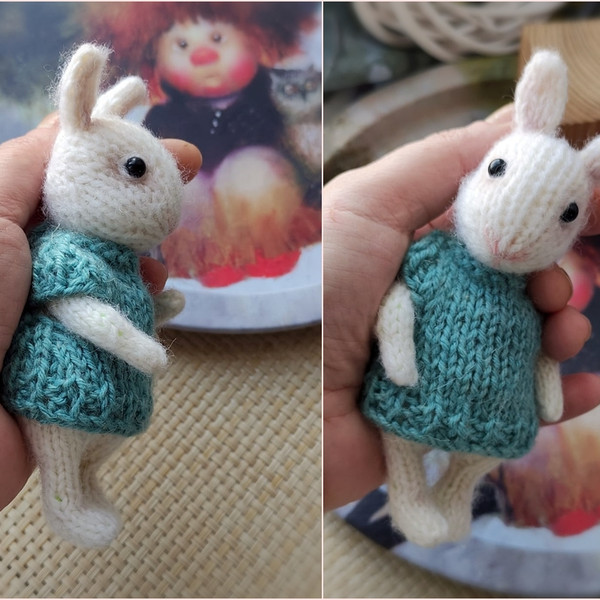
White bunny knitting pattern, toy knitting pattern, amigurumi pattern, knitting DIY, knitting tutorial, how to knit
-
The bunny is knitted from the bottom up.
-
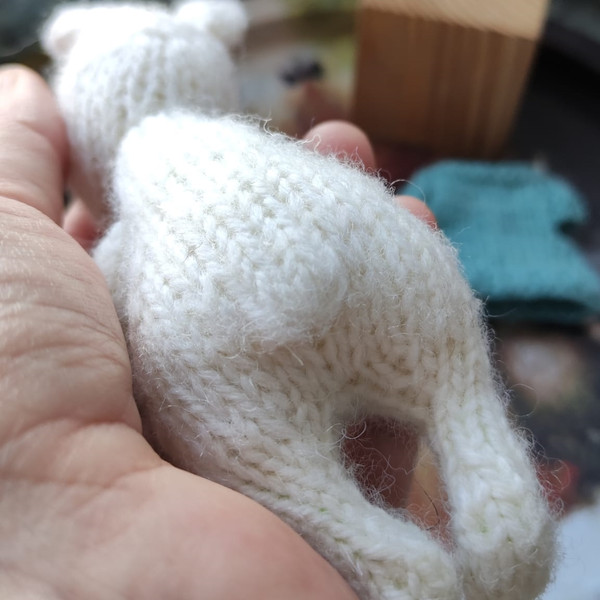
The lower paws are knitted separately, then combined into a common piece.
-
The upper paws are knitted separately.
-
The head is knitted separately and connected to the body using the button hinge principle.
-
Ears - two separate details, sewn after stuffing the head.
-
A chenille wire frame is installed inside the bunny's body.
-
The installation of the frame is described separately after the body knitting pattern.
-
It also describes the installation of a button joint for head rotation.
Materials and tools:
- The bunny is knitted from Podmoskovnaya (Yarn from Troitsk) white yarn (200 m / 80 grams, 50% wool, 50% high-volume acrylic). For this work used knitting needles with a cable of 2.5 mm (the length of the needles with a cable is 50 cm).
When knitting with a cable, the Magic Loop method is used.
You can choose other yarn to work with. Choose needles so that the knitting is tight enough for subsequent stuffing.
You can work with a set of double-pointed knitting needles. The knitting pattern is written in rows, you can distribute the stitches on the double-pointed needles as you like, marking the beginning of the row.
When using these materials, the size of the bunny is about 11.5 cm, excluding ears.
- Toy stuffing.
- Chenille wire to create a frame in the body and paws. It is better to use a wire with a short pile and close in color to the color of the yarn.
- To attach the head, you will need two flat buttons, a wire to create a button hinge and a tool for working with wire (nippers, round nose pliers).
The size of the buttons should be chosen based on the size of your bunny. For example, the button inside the neck can be smaller (I have it about 1 cm in diameter), and the button inside the head is better to take a larger diameter so that it does not slip into the knitted hole (I have it about 1.4 cm in diameter). To connect the buttons, I use two pieces of galvanized steel wire about 8 cm long each, the wire diameter is 0.8 mm.
This hinge is an alternative to the pin hinge. If there are cotter pins, you can connect with them.
- Two black beads for the eyes, thin fishing line or monofilament and a needle with a thin eye for sewing on.
- Needle with a wide eye for assembly.
- Additionally, you can use materials for tinting and choose accessories at your discretion.
Together with this pattern, you get a separate file with a detailed description of all the abbreviations and techniques that I use in knitting.
If you need a bunny clothes pattern, please see separate listing.